What is a self tapping drywall screw and how to use it?
self tapping drywall screws are essential tools in the construction and renovation industries. These screws are designed to create their own holes in drywall, eliminating the need for pre-drilling. This feature makes them valuable for both professionals and DIY enthusiasts. Their unique design allows for quicker installation, saving time on the job.
Using a self tapping drywall screw requires some technique. It's important to choose the right size and type for your project. Incorrect choices can lead to fragile connections or stripped holes. A good hand tool, like a screwdriver or drill, is necessary for optimal results. Beginners may find the process a bit challenging at first, but practice improves skill.
Many users appreciate the convenience of self tapping drywall screws. Yet, not everyone finds them easy to work with initially. Care must be taken to avoid over-tightening, which can damage the drywall. Reflecting on personal experiences with these screws can lead to better usage techniques. As with any tool, proper understanding enhances effectiveness and safety.
Definition and Purpose of Self-Tapping Drywall Screws
Self-tapping drywall screws are a vital component in construction. These screws are designed specifically for fastening drywall to wooden or metal studs. The unique feature of self-tapping screws lies in their sharp threads. This allows them to cut into the material without needing a pre-drilled hole. This can significantly save time during installation.
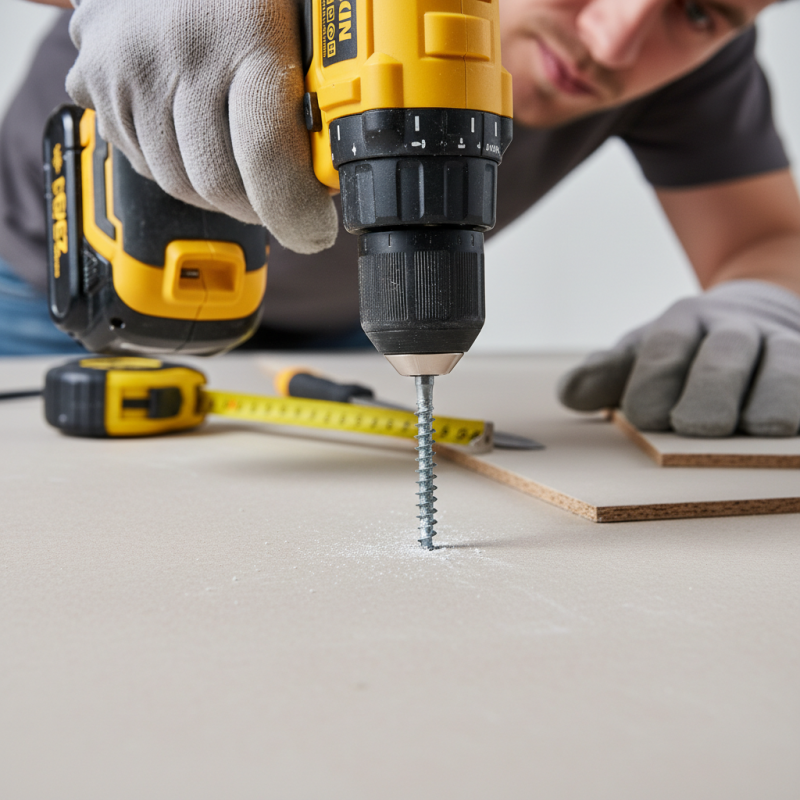
Using self-tapping drywall screws requires a bit of technique. Start by positioning the drywall sheet against the studs. Align it properly to avoid gaps. Then, using an electric screwdriver, drive the screw into the drywall until it is flush with the surface. Be careful not to overdrive the screw, as this can lead to damage. It’s important to practice on scrap pieces first. The process may seem simple, but it can be tricky for beginners. Pay attention to the angle and pressure you use.
When using these screws, quality matters. Choosing the right length and type based on the thickness of the drywall is crucial. A common mistake is using screws that are too long, which may penetrate too deeply into walls. Additionally, consider the environment. Humidity can affect screw performance. Understanding these factors will improve your installation skills.
Types of Self-Tapping Drywall Screws and Their Uses
Self-tapping drywall screws are essential for construction and renovation projects. They simplify the installation of drywall by creating their own holes as they are driven into the material. Understanding the different types of self-tapping screws can enhance your efficiency and effectiveness.
There are primarily two types of self-tapping drywall screws: coarse-thread and fine-thread screws. Coarse-thread screws are suitable for attaching drywall to wooden studs. They grip better in wood, providing a strong hold. Fine-thread screws, on the other hand, work best with metal studs. Their tight threads ensure a secure attachment when working with metal frameworks. Each type has a specific purpose and knowing when to use them is crucial.
It's worth noting that using the wrong type of screw can lead to issues. For example, fine-thread screws may not hold well in wood, which can result in sagging drywall. Also, overdriving screws can damage the drywall, creating unsightly dents. Understanding these details is necessary to avoid common pitfalls and to achieve a professional finish in your projects.
Steps to Properly Install Self-Tapping Drywall Screws
Installing self-tapping drywall screws can simplify your drywall projects. These screws are designed to create their own holes in drywall, reducing the need for pre-drilling. However, proper installation is key to achieving a strong hold and a professional look.
Begin by choosing the right size of self-tapping screw for your project. Ensure that your drywall is properly positioned and secured in place. Hold the screw with a screwdriver or a drill. Apply firm but controlled pressure as you drive the screw into the drywall. Aim for a depth where the screw's head is slightly recessed below the surface. This will allow for easy taping and mudding later on.
Watch out for common mistakes. Over-tightening can cause damage to the drywall. If you feel resistance, back off and try again. Make sure each screw is spaced evenly for a sturdy finish. It's worth noting that not every self-tapping screw behaves the same; some might require more force than others. Always inspect your work for any missed spots or uneven surfaces. A little patience during installation can go a long way in ensuring a flawless appearance.
Usage of Self-Tapping Drywall Screws
This chart illustrates some important characteristics of self-tapping drywall screws, including their typical lengths, diameters, weight capacities, and installation speeds, which are crucial for effective installation.
Best Tools and Techniques for Using Self-Tapping Screws
Self-tapping screws are essential for a variety of drywall projects. They feature sharp, hardened tips that can penetrate surfaces without pre-drilling. To maximize their effectiveness, the right tools and techniques are crucial.
Using a power drill fitted with a clutch is excellent for this task. It helps prevent stripping the screw, which can be frustrating and time-consuming. A depth gauge can also ensure screws are driven to the correct depth. Aim to use a screw that matches the thickness of the drywall for optimal results.
When driving the screw, apply steady pressure. This might seem simple, yet inconsistencies can lead to improper fastening. Monitor the screws; they should sit flush with the drywall surface. If they sink too deep or fail to grip, reassess your technique. It's common to make mistakes, but reflecting on them will enhance your skills over time.
Common Mistakes to Avoid When Using Self-Tapping Drywall Screws
When using self-tapping drywall screws, common mistakes can impede your project. Many people underestimate the importance of proper pilot holes. Skipping this step can lead to cracking and uneven surfaces. Always align your screws with the drywall’s studs for better support. If you miss the stud, you may end up with a loose screw, which is hard to fix later.
Another mistake is over-tightening screws. This can strip the drywall and weaken the hold. A gentle touch is essential. You want the screw to sit flush with the surface, not buried deep. Using a screwdriver with adjustable torque settings can help manage this risk effectively.
**Tips:** Check your drill bits regularly. Dull bits add unnecessary stress. Keep your screws organized and within reach. This saves time and reduces frustration. Lastly, remember that practice makes perfect. Mistakes happen, but they can teach you valuable lessons.
What is a self tapping drywall screw and how to use it? - Common Mistakes to Avoid When Using Self-Tapping Drywall Screws
| Feature | Description | Common Mistakes |
| Type | Self-tapping screws for drywall | Using non-self-tapping screws |
| Material | Steel or galvanized steel | Choosing incorrect materials for moisture-prone areas |
| Usage | For fastening drywall sheets to wooden or metal studs | Insufficient depth of screwing |
| Installation Tool | Power drill or screwdriver | Using the wrong drill speed |
| Size Variations | Sizes range from 1" to 3" | Not matching screw size to drywall thickness |
| Head Type | Flat or bugle head | Over-tightening screws causing damage |