How to Use Nail Intramedullari for Effective Bone Fixation?
In orthopedic surgery, nail intramedullari is a critical tool for bone fixation. This method involves inserting a nail into the medullary canal of long bones. It provides stability for fractures and aids in the healing process.
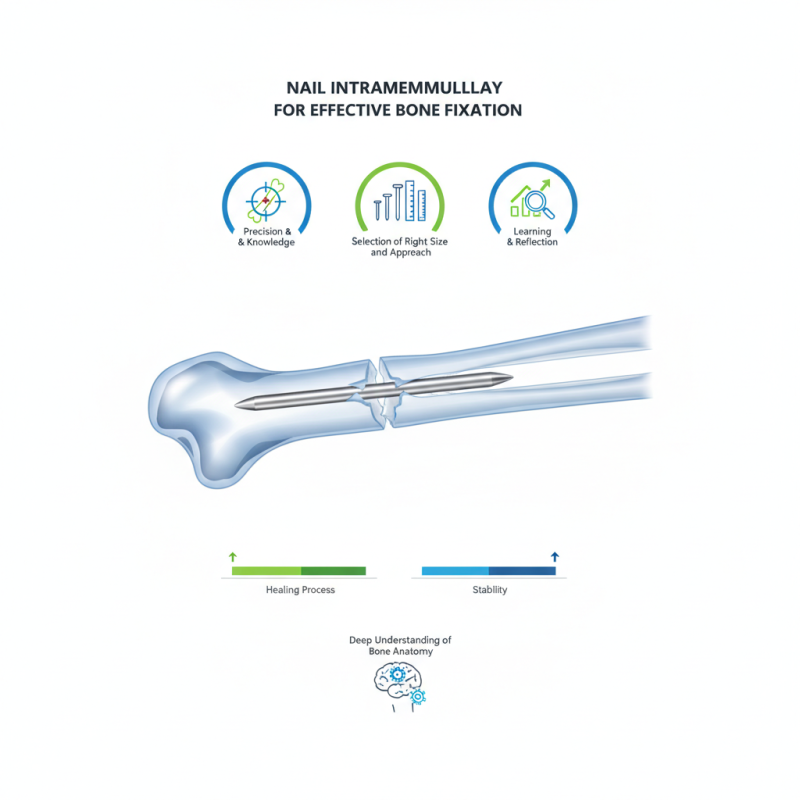
Using Nail Intramedullari requires precision and knowledge. Surgeons must select the right nail size and approach for each case. Improper selection can lead to complications. The technique, while effective, doesn't guarantee success in every situation.
Learning to utilize Nail Intramedullari effectively is essential for modern surgeons. It demands practice and a deep understanding of bone anatomy. As with any medical procedure, reflection on outcomes is vital for improvement. Mistakes may happen, and it’s important to learn from them.
Understanding Nail Intramedullari and Its Applications in Bone Fixation
Nail intramedullari, commonly known as intramedullary nails, are vital in orthopedic surgery for bone fixation. Their design allows for minimal disruption to surrounding soft tissues. With a hollow rod placed into the medullary cavity of a bone, they stabilize fractures effectively. Studies show that they have an overall success rate of around 90% for long bone fractures. This method reduces recovery time significantly, often allowing patients to bear weight within weeks.
Using intramedullary nails comes with its challenges. Complications such as infection or malalignment may arise, impacting recovery. A study published in the Journal of Orthopaedic Surgery states that about 10% of patients face these issues. Patient selection is crucial; individuals with certain health conditions may respond poorly. The choice of nail type and insertion technique also requires careful consideration to enhance stability. Despite their advantages, not all cases yield perfect outcomes.
Understanding the anatomical aspects is essential too. A nail should match the bone's diameter to prevent stress concentrations. A mismatch can lead to complications. Surgeons must also consider the fracture characteristics, as some may not be suitable for intramedullary fixation. This intricate balance between technique and patient-specific factors is critical for achieving the best results.
Preparation for Nail Intramedullari Insertion: Tools and Techniques
When preparing for nail intramedullari insertion, having the right tools is crucial. Surgical drills, reamers, and screws are essential. Don't forget the fluoroscopy machine for real-time imaging. This greatly improves accuracy during the procedure.
Tips: Always double-check your equipment before starting. A faulty tool can lead to complications. Ensure that all instruments are sterilized and ready for use.
Techniques matter just as much as tools. Proper positioning of the patient is vital. You need a clear pathway for the nail. Sometimes, despite our best efforts, the approach doesn't feel right. Reflect on the positioning if you meet resistance during insertion.
Tips: Keep the area clean but make sure your view isn't obstructed. Use a marker to outline your entry point. A small detail, but it helps keep everything on track.
Bone Fixation Techniques Comparison
Step-by-Step Procedure for Inserting the Nail Intramedullari
Inserting an intramedullary nail can be a key step in bone fixation. Begin by preparing the surgical site. Ensure that all instruments are sterile. Anesthesia is important. Use local or general anesthesia based on the procedure and patient's condition.
Next, make a small incision at the site of the fracture. It’s crucial to expose the bone adequately. Use proper tools like retractors to maintain visibility. The intramedullary nail needs to be accurately measured. Misjudgment here can lead to complications later.
Tips: Always check alignment before inserting the nail. Poor alignment can affect healing. If the nail feels too tight during insertion, reconsider its size. It's better to reassess than to force it. Also, take care when using imaging. Too much radiation can be harmful.
After the nail is inserted, secure it with locking screws. This step is crucial for stability. Monitor the patient after the procedure. Watch for signs of infection or complications. Reflect on the process. What could be done better next time? There’s always room for improvement in surgical techniques and patient outcomes.
Post-Operative Management and Care After Nail Intramedullari Fixation
Post-operative management is vital after intramedullary nail fixation. Following surgery, monitoring for complications like infection or improper alignment is crucial. Studies show that up to 10% of patients may face complications after this procedure. Early detection can lead to better outcomes.
Wound care plays a significant role in recovery. Surgeons typically advise keeping the incision clean and dry for at least two weeks. Patients should change dressings regularly and report any signs of redness or swelling. Pain management is essential; most patients will require analgesics for a few days post-surgery.
Rehabilitation should start as soon as possible. Passive movements can begin within a few days, depending on the physician's protocol. Weight-bearing activities often start around six weeks post-surgery. However, every patient's recovery varies. Some may need longer before returning to regular activities. Monitoring progress and making necessary adjustments to rehabilitation is essential for optimal healing.
How to Use Nail Intramedullari for Effective Bone Fixation? - Post-Operative Management and Care After Nail Intramedullari Fixation
| Dimension | Details |
| Indication | Diaphyseal fractures, particularly in long bones. |
| Pre-Operative Assessment | Complete history, physical examination, imaging studies. |
| Surgical Technique | Insertion of intramedullary nail under fluoroscopic guidance. |
| Post-Operative Complications | Infection, non-union, malunion. |
| Post-Operative Care | Pain management, physical therapy, regular follow-ups. |
| Rehabilitation Timeline | Full weight bearing typically begins at 6-12 weeks post-op. |
| Follow-Up Imaging | X-rays at regular intervals to assess healing. |
Complications and Considerations in Nail Intramedullari Usage
When using intramedullary nails for bone fixation, several complications may arise. One common issue is infection at the surgical site. This can lead to prolonged healing or further interventions. Another potential complication is malalignment of the bone fragments. Misalignment can affect functionality and lead to uneven weight distribution.
Preoperative planning is crucial. Take time to assess the patient's bone structure and any previous injuries. This helps in choosing the correct nail size and determining the best insertion technique. Missing these steps can result in complications.
Tips: Always communicate with your surgical team. Make sure everyone understands the plan. This can help minimize mistakes during surgery. Regular follow-ups with patients are essential too. Watch for any signs of complications like swelling or unusual pain.
Patient education is vital as well. Ensure that the patient understands their role in the recovery process. Post-surgery care should not be overlooked. Lack of adherence can lead to adverse outcomes. Addressing these considerations is key for a successful recovery.